


Cloud hosting is not something extra new to our world and popularity in Jira Server to Cloud migration constantly increases as well. Many users think that the Cloud is our future and name numerous advantages. Jira also provides Cloud hosting which in recent years has grown to become the most popular hosting platform for Jira. Every year, more companies decide to move away from the legacy server version to the cloud and it comes really handy that Jira has a built-in migration functionality. Jira gives the possibility for users to migrate data from Jira Server to Jira Cloud. The migration process is really easy and straightforward and we want to share with you a short Jira migration guide.
Why Does Jira Migrate to Cloud?
Recently Jira users have discovered news that Atlassian had decided to discontinue its server offering and now users are encouraged to move to Cloud & Data Center options. Such information was a little bit unexpected for users, but there are valid reasons for migration.
Benefits of Cloud Deployment
The first and main benefit is a lower cost for administration. Big companies and corporations have thousands of employees, that’s why they need a huge developed in-house infrastructure, which takes much place, development time, and maintenance challenges, including advanced admins and cost for all of the above mentioned.
If a company migrates data from a server to the cloud, it transfers its main headache and can be sure that other professionals will take care of maintenance and strong security, which is one more advantage. When you manage your in-house infrastructure, this is another expense item for you, but when you choose cloud hosting, it’s already included in the price and users can be sure that everything is secure. When you transfer data to the cloud you outsource your headache to the top pros of the biggest companies with the highest level of protection ( e.g. AWS & MS Azure which provide top-notch security). With the opening of more Data Centers around the world, compliance with where data should be stored is no longer a problem.
In cloud instances, the installation process is very simplified and much faster than in the server. Also, there is no need to upgrade to new versions every time, as cloud instances are upgraded automatically with all bug fixes and new features, instances are stable, and it's a great economy of time.
Finally, we came to one of the most common problems - staffing. Discovering the experts is a long process that takes much time, money, and effort. Companies need to have the most professional admins, but they’re very rare and in high demand in the market. As a result, System Administrators and DevOps are among the top-paid jobs. According to ZipRecruiter research, the salary of an average sysadmin starts from $45 in the US, but if the administrator is a top professional, he/she can be hired if the company offer is not less than $100/hour. Then, let’s have simple math -
Expenses on System Administrators/DevOps:
$100/hour - $4000/weekly pay - $16 000/monthly pay = $192,000 ( annual salary ), and usually the infrastructure maintenance companies need several admins, so just double or triple the final sum.
Once you started using the cloud, you significantly decrease costs for admins and DevOps salaries which are one of the highest.
Also, companies lose money when they search for skilled admins and their acquisition. It takes much time and money, and if these employees leave their position in the company it causes great risks for infrastructure maintenance and security.
Last but not least reason - the cloud is very friendly to remote teams, which became more common last year. No matter where teams work and whether they’re dispersed around the globe, all of them will have stable and equal access to data.
What’s Next?
All of the changes will not happen suddenly in a week and Atlassian offers a transition period with different stages.First of all, on February 2 new server licenses will be withdrawn from sale. Secondly, the corporation server license owners have a three-year tire for the complete migration to the cloud. In 2024 the support of the server will be completely down.For those, who aren’t ready to cloud migration, Atlassian offers Data Center deployment as an option.Users need to evaluate pros&cons for themselves and choose the most suitable form for in the next few years. We wanted to help you by highlighting the most advantageous reasons for cloud transition, but the last word is yours.
Pre-Migration Stage
Before the start, you need to determine a few key factors:Choose a Migration Method :
- The Jira Cloud Migration Assistant
- Jira Cloud site import
The first option is very comfortable as Atlassian provides its own native app - assistant which helps to move Jira projects and users to the Cloud. But, it can be used if you migrate only Jira Core or Jira Software.The next method is suitable for Jira Service Desk and instances with lots of custom data. This method we will describe below. But, before we start, users need to check a few more things:
- You need to have a Jira Cloud instance where data will be migrated
- Check if your Jira Server is upgraded and doesn’t have failed upgrade tasks
Server to Cloud Migration with the Help of the Jira Site Import
After the above mentioned steps, we may proceed with the migration itself. First of all, the administrator needs to Back up Jira Server Database. This action will back up the database in a portable XML format. If you have Jira Core, Software, and Service Desk in one site, the backup will save all of the project types.
- The user needs to have a Go to Import & Export > Backup System. Type a File name for your backup file permission
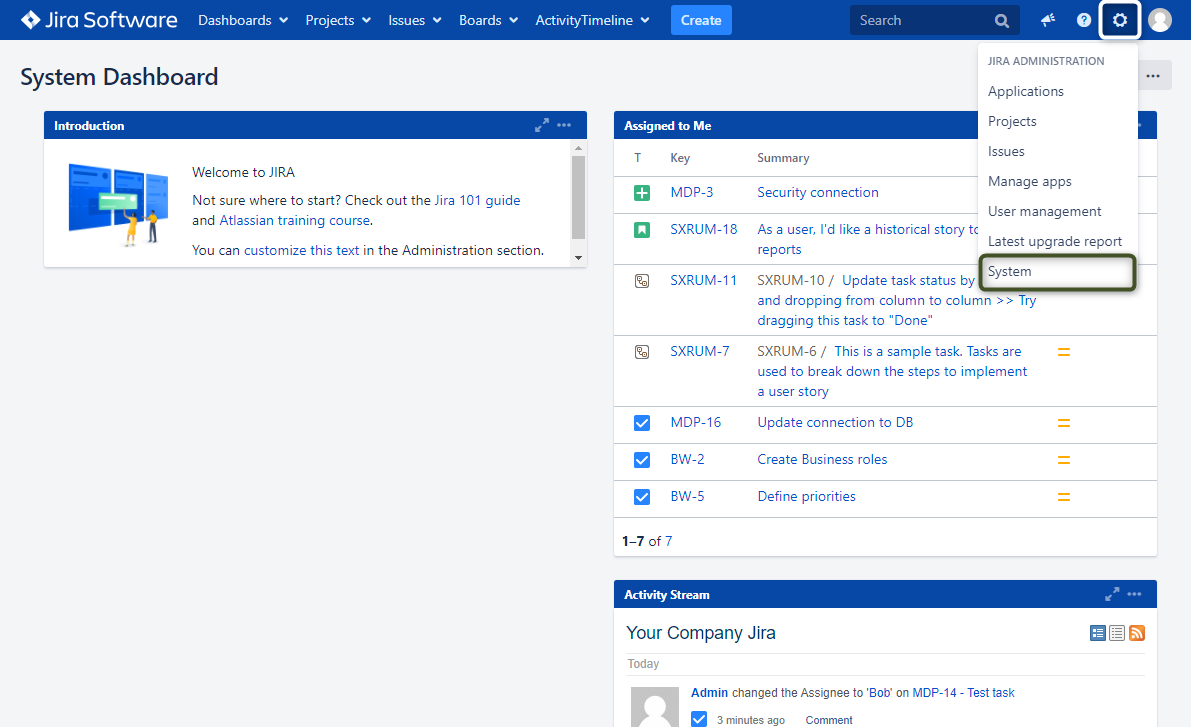
- Choose the Settings menu > System
- Click the Backup button and wait until your data is processed. The backup will be saved as a zipped XML archive file which can be found in the Jira application home directory
- You will receive a confirmation letter when the backup is complete.
Import Server Database back up into Jira Cloud.
- Move to your Cloud instance and log in. The user should have site-admin permission.
- Choose the Settings menu > System
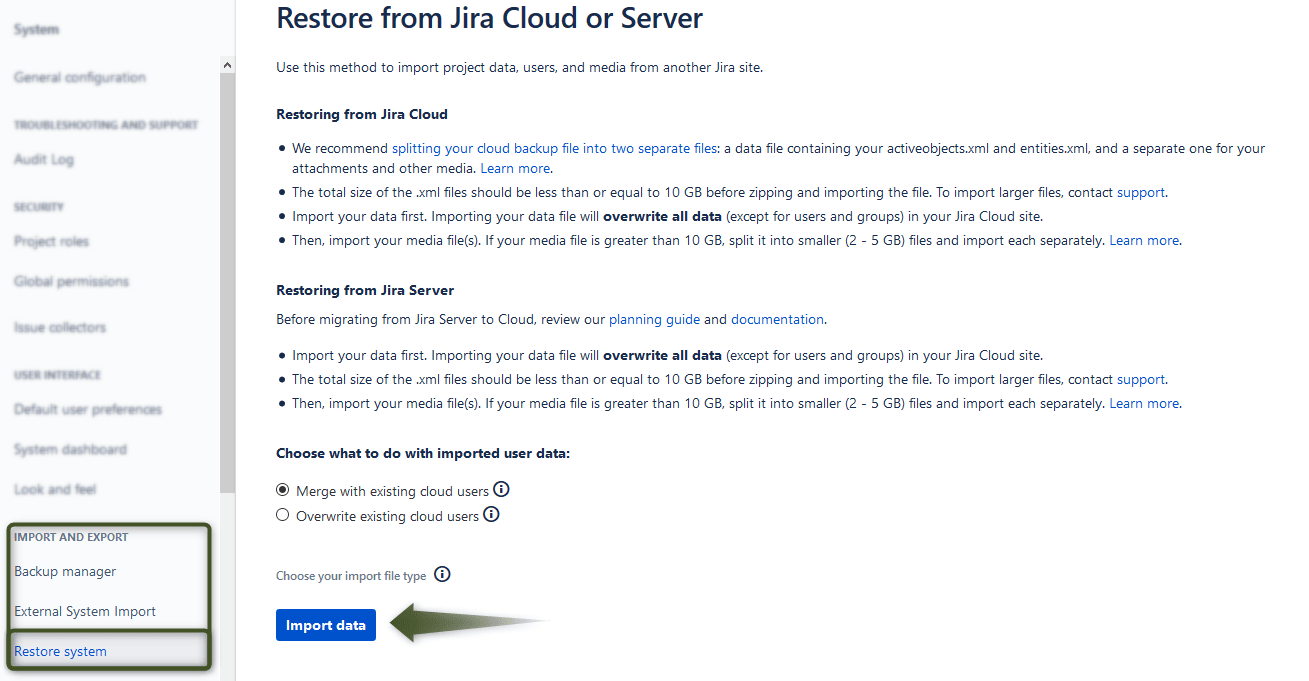
- Go to Import & Export >Select Restore system, choose between 2 options concerning users
- Click Import data. Select ZIP file you downloaded and wait until import is complete on the progress page.
After the successful import, grant and review your Users group access, because imported data won't automatically apply the default application access settings or grant access to new users due to security measures.
- Choose the Settings menu > User Management
- Go to Site settings section > Product access
- Select Review imported groups and confirm the groups' access. Do not forget to add yourself to Jira groups, as due to security measures, the person who conducted the migration itself also needs to be added back to their previous groups in Groups or Users sections.
That’s it! The Migration process is complete and you may proceed to work with your new Jira Cloud instance.
How it Will Affect Your Apps?
Users are also hugely interested in whether they can also export their add-ons with the server instances. The answer is: add - ons cannot be migrated. But If the app stores the information within the Jira instance and the add-on is available for both Jira Server & Jira Cloud, there is a high probability, you’ll be able to get your apps up & running relatively easily.
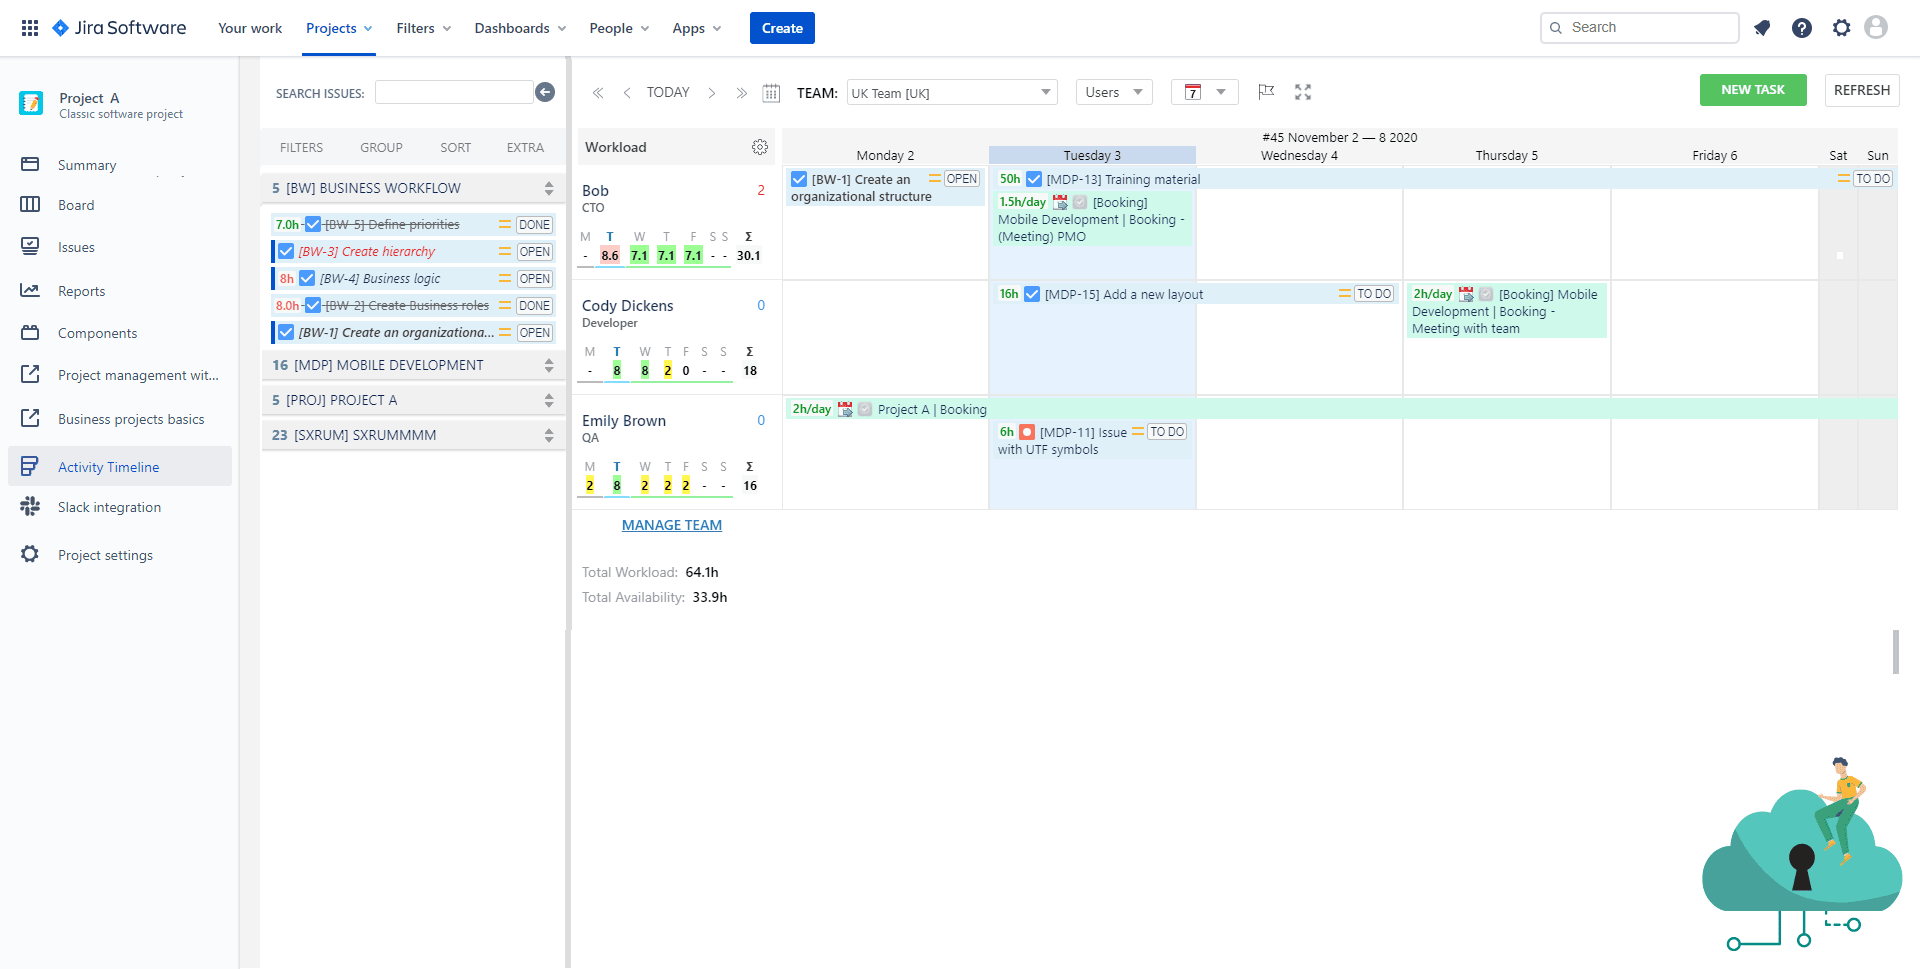
For example, let’s take a look at ActivityTimeline. You can be sure that the data will be saved and moved into your new Cloud instance accordingly. As we can see, this app is using Jira Custom Fields, meaning all the information is preserved within the Jira instance itself and users will be able to restore this information easily.
Here is how you can do it: after you imported your data to a new instance, just find ActivityTimeline in your “Find new apps” field in Jira and set it up in your new instance.
ActivityTimeline uses Jira custom fields, that’s why after a little configuration main data will be restored. Just go to Configuration Menu > Jira Integration > Advanced Configuration. Choose your Jira custom fields from the drop-down menu and all issues with these custom fields will be migrated.
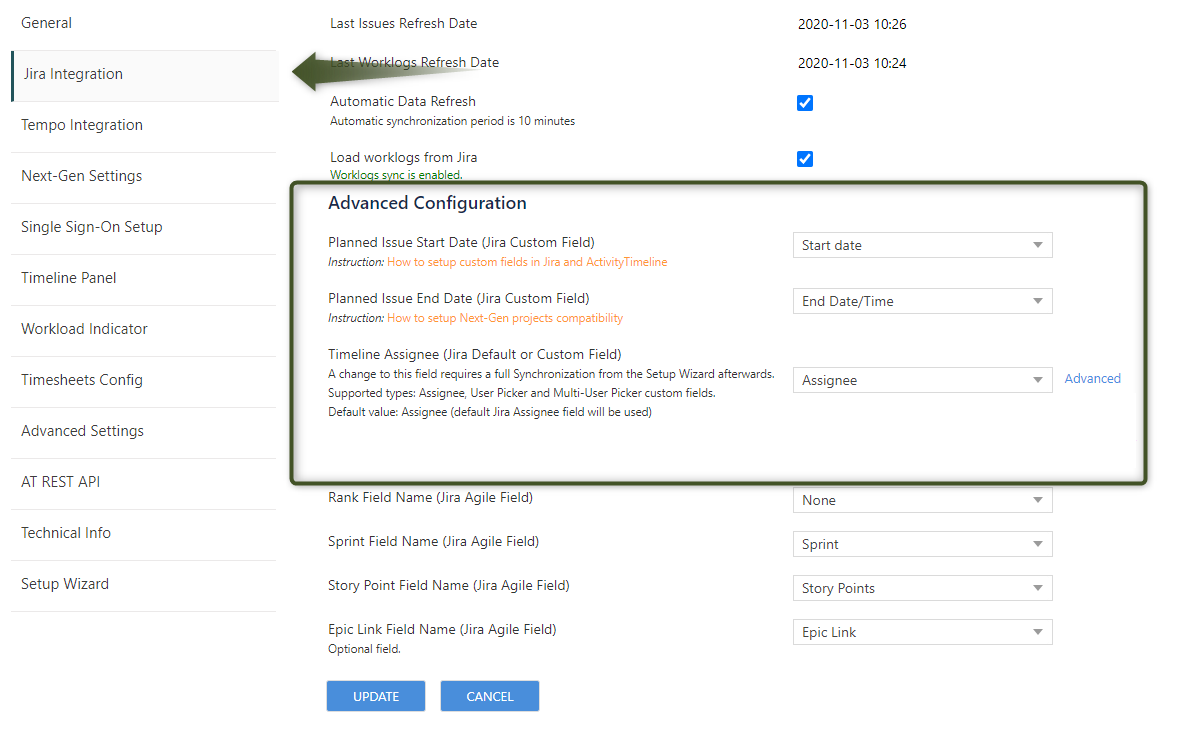
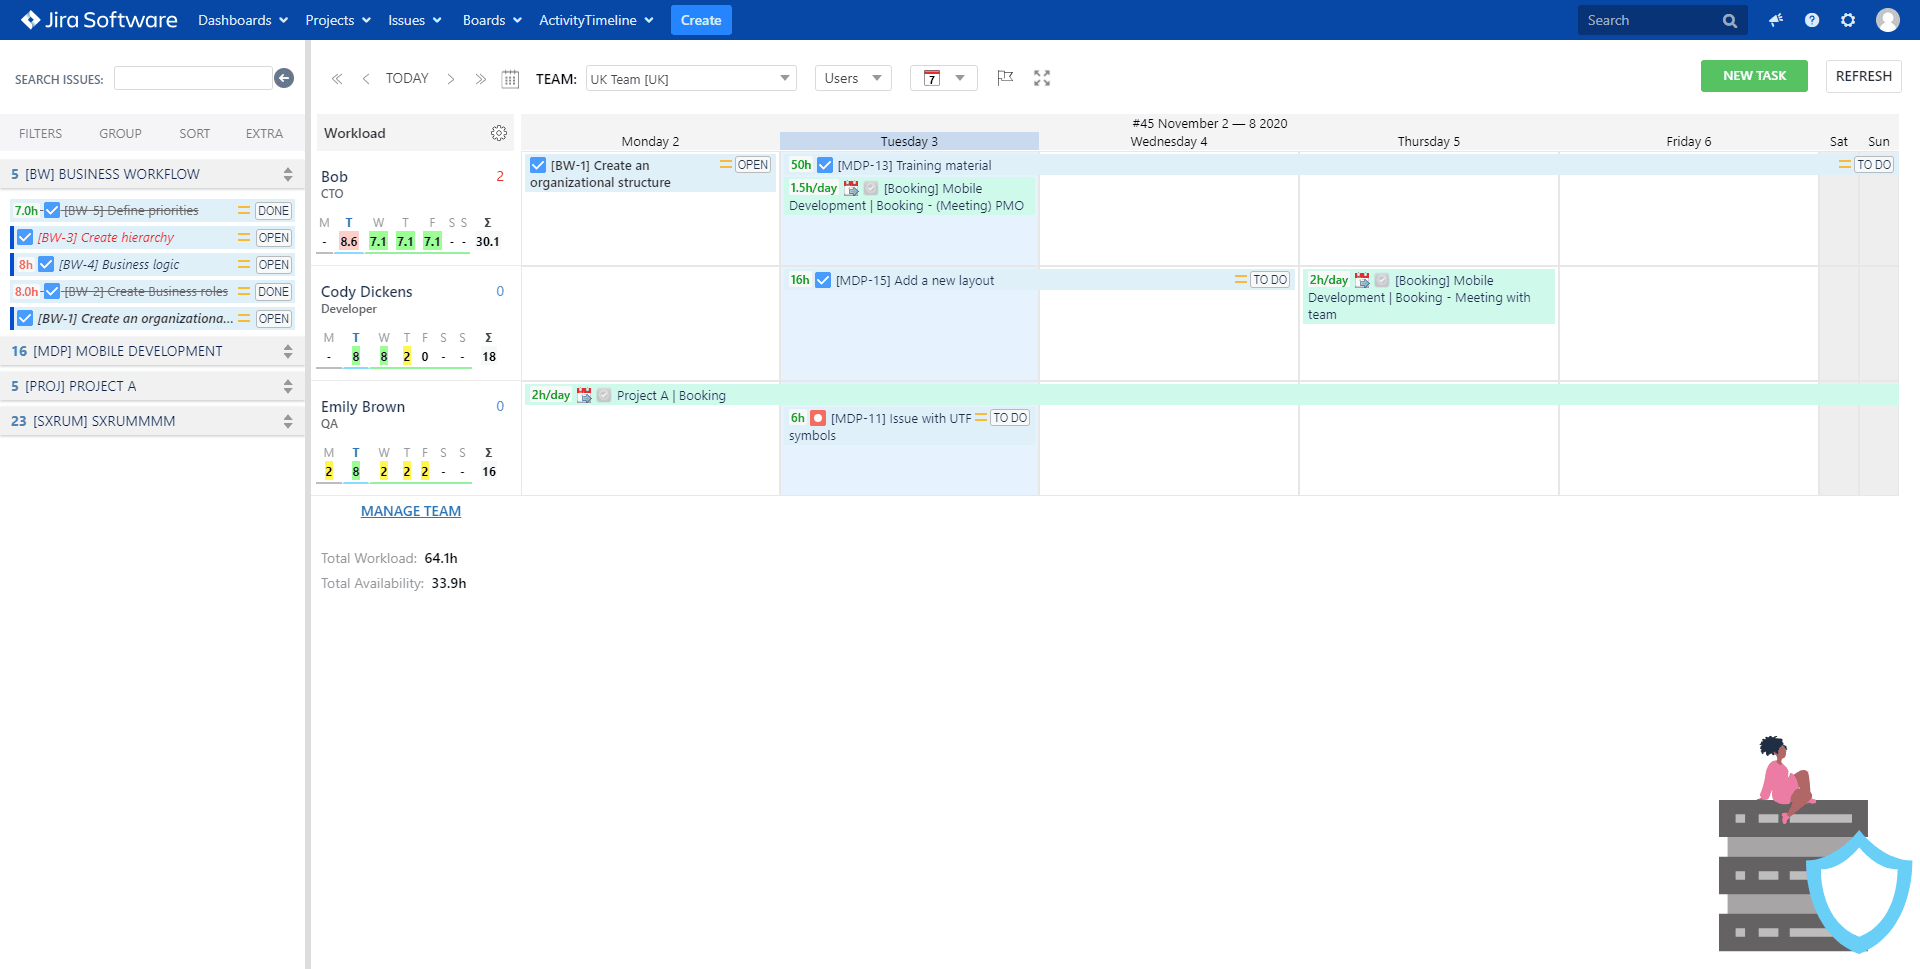
After these steps, all data will be reflected on the Timeline respectively.
Want to discover how to assign multiple users to the same issue in Jira? Go there - How to Display Additional Assignees in Jira?


